Thursday 17 March 2016

Reports in CRM 2016


Reports in CRM

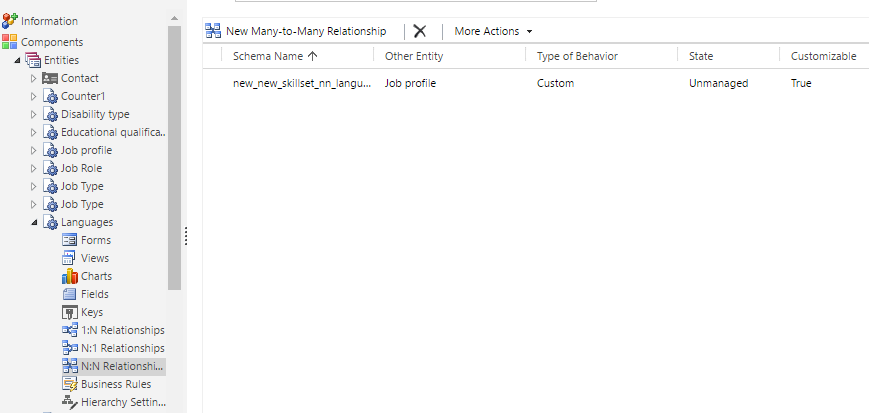
Reports can be created with a Primary entity and a related entity in CRM via Service->Tools-> Reports. Refer the link. The only drawback for this is more than two entities can not be added.

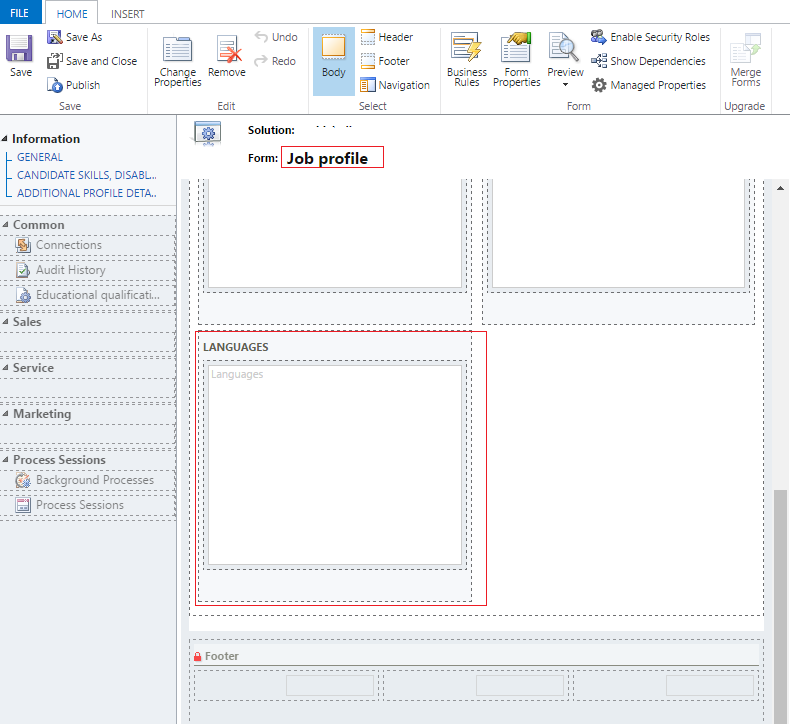
The following report was created for the entity - Job Profile under Related record type.


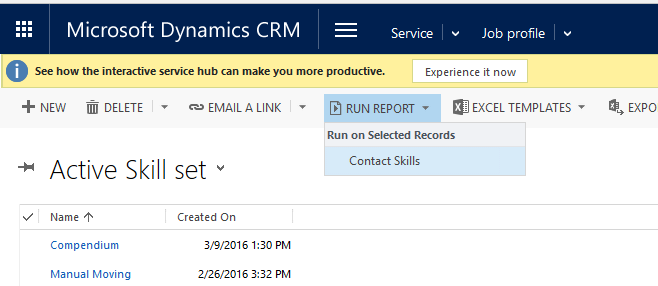
The reports created can be run from the menu Service->Reports. Select the report you have created from the list and click the Run Report button as seen in the screenshot below.


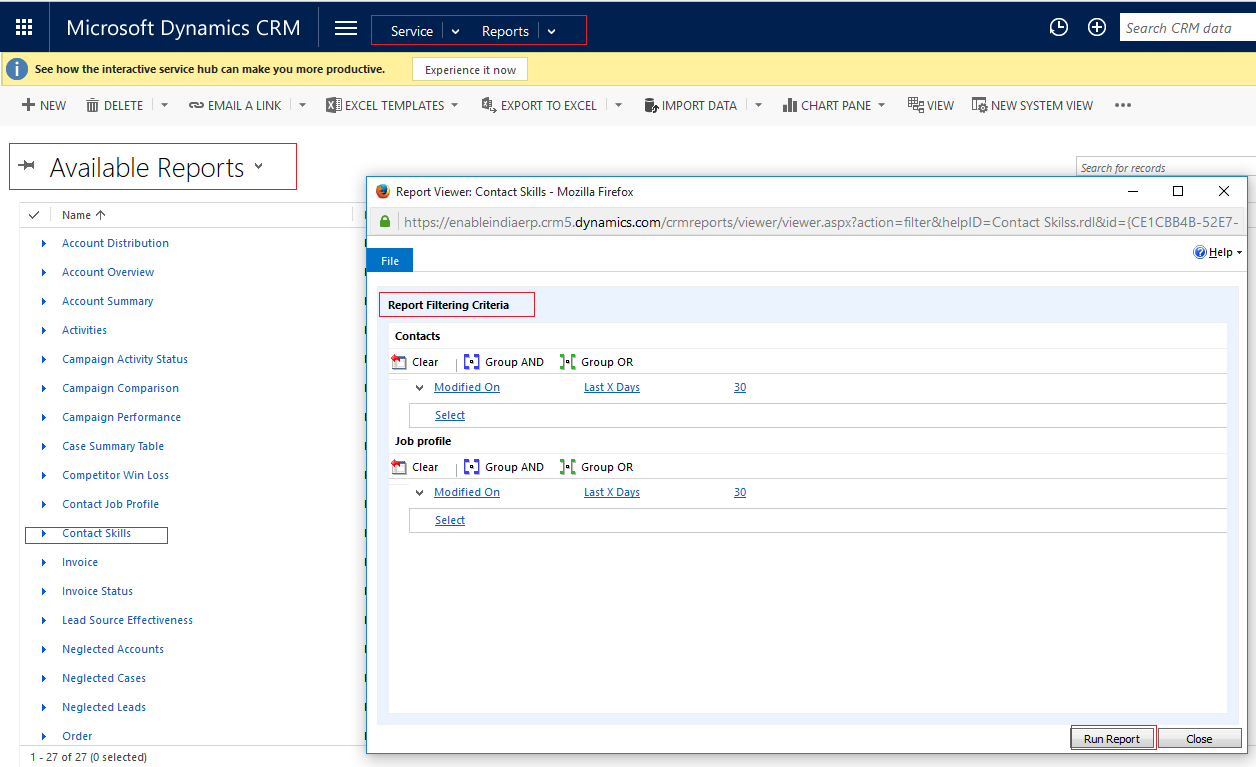
As the report shown here is created for the Job profile entity, you can run the report from the entity as well. Click the run Report option in the Ribbon.


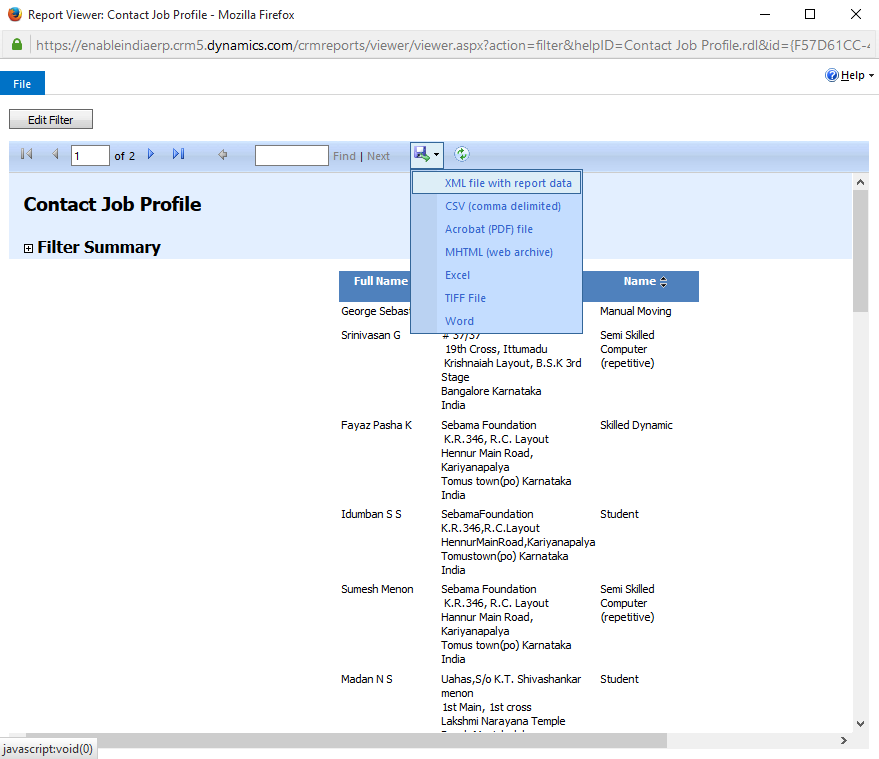
In the screenshot below, you can see the Edit Filter button which enables you to give different filters. The report is available in different formats as shown.  

CRM 2016 Document sharing between CRM Account holder and a Office 365 Account holder with no CRM account


Document sharing between CRM Account holder and a Office 365 Account holder with no CRM account

Documents uploaded by a CRM Account holder in his Sharepoint site related to the out of the box/custom entities be shared with an Office 365 Account holder with no CRM account.
Sharepoint integration was done as in the link.

After the integration, go to any contact as shown below

Add or upload any document as shown below. The Open Location will open the Sharepoint site where these documents are uploaded. You can share the document from there with a Office 365 Account holder with no CRM account. That person will get a mail with a link to the shared document.

Email configuration

CRM 2016 Entities with N:N relationships


Entities with N:N relationships


Created a language entity and added a N to N relationship with Contact entity as the same language may have to be added to multiple entities.

Then added the Language entity in Job Profile entity using Sub-grid option in Ribbon


Then added the entity Languages using the Insert->Sub-grid ribbon option.


Advanced Find and N:N relationships

You can use the Advanced Find to get the N:N relationships as in the link

But there is a problem, that the details of those records which does not have a dependent record on the other entity could not be obtained with the Advanced Find option.In the above example,a view could not be created for the contacts who does not know the Hindi language.

In such cases, a third party tool called Intelligent Query was used.
 

CRM 2016 Email notification as a workflow

Email notification as a workflow


Added a workflow as a background process to send an email to the global administrator once a contact is created. This was created as in the link


Email configuration

Go to Settings->Security->Users. Select the user. Go to the Administration tab and Click the user name near Mailbox. Make the settings as in the link.


Also, go to Settings->Email Configuration->Email Configuration Settings.  Make the settings as in the link.
 

CRM 2016 Add auto increment integer ID to an entity


Auto-Numbering

An auto increment integer ID was added to the Contact as soon as a new Contact is created. This works as expected even when the contact details were imported from an excel sheet

Auto-numbering was added as in the link

CRM 2016 Dependent entities as lookup in an entity


Dependent entities (lookup)


Suppose there are dependent entities(already mentioned above), one called Disability type (PH - Physically Handicapped, VI - Visually Impaired etc) and another for Severity(Mild, Severe, with aids etc). For this, created one entity for Disability type with a text field to enter disability and created another entity Severity. Set a Parental 1:N relationship from Disability to Severity. These fields Disability and Severity are added to the Job Profile entity.


Added a lookup for Disability with the relationship as in the screenshot and a text field for Severity in the Severity entity.

CRM 2016 Dependent option set


Dependent option set


Suppose  there are dependent option set fields, one called Category for Hardware/Software and another for Sub Category - Business App, OS for Software category and Laptop,Desktop for Hardware category. This link will help you do that. Create the fields and add them to your entity.